We may earn a small commission when you purchase through our affiliate links. This helps fund Quiet Meadows Homesteading and our mission to promote self-reliance. We appreciate your support!
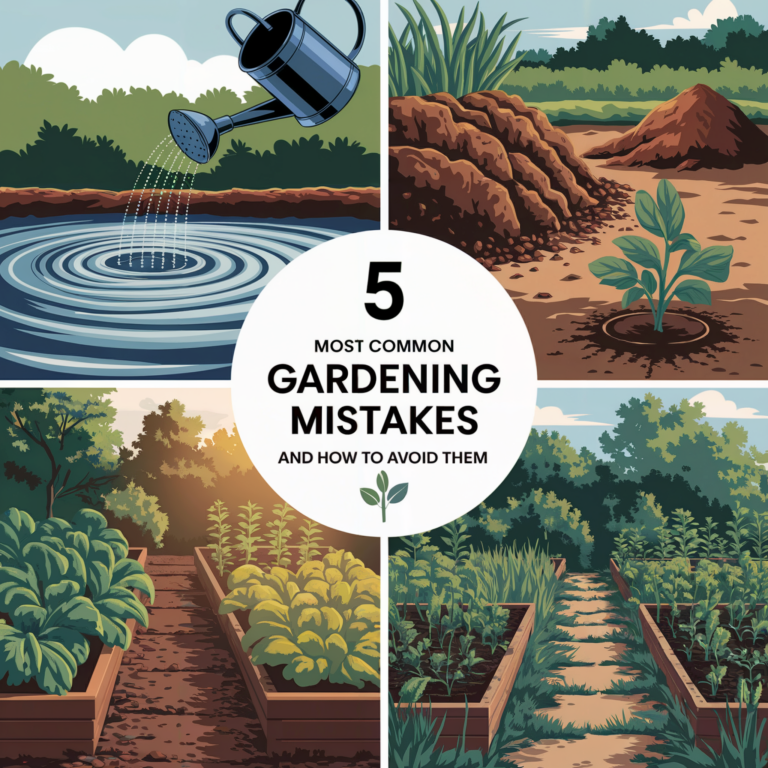
Whether you have acres of land, a small backyard, or even just a balcony, you can build a garden that provides fresh, healthy produce for you and your family year after year. Growing a sustainable vegetable garden isn’t just about putting seeds in the ground—it’s about creating a thriving, self-sufficient food source that could be your primary source of survival. I’ve worked on farms, in greenhouses, my own backyard garden, experimented with hydroponics, and learned through trial and error what works and what doesn’t. Let me help walk you through the process of how you can create the best sustainable homestead vegetable garden, no matter where you live.
1. Start with the Right Location
The first step in growing a successful vegetable garden is choosing the right location. I’m not referring to your place of residence. I’m talking about the spot that you will be growing your plants. Let’s be completely honest, very few people get to start off with owning acres of land, but that doesn’t mean you can’t start your homesteading journey now. You can start small and grow at whatever pace you are capable and comfortable with.
How to Choose the Best Spot
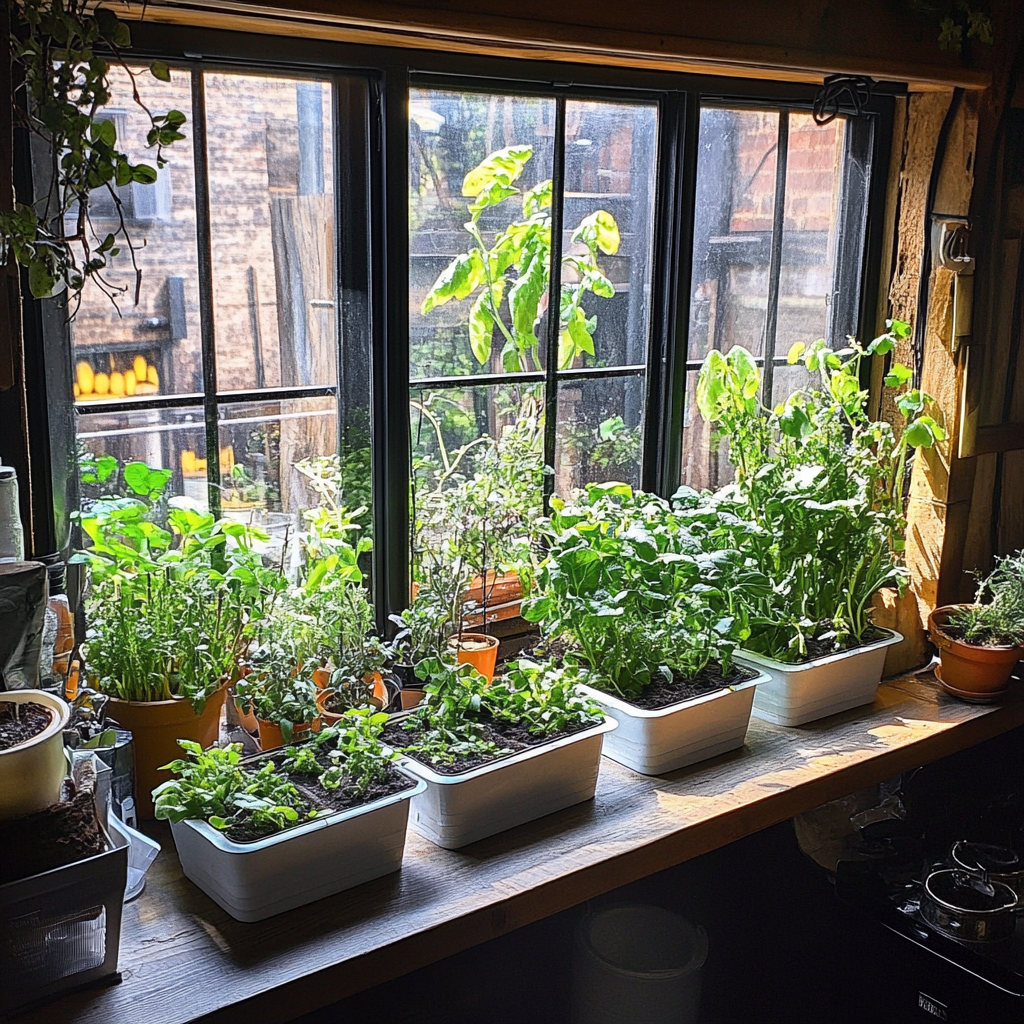
Vegetables need at least 6-8 hours of direct sunlight per day. If you have a yard, pick a spot that drains well and isn’t too windy. If you’re working with limited space, consider raised beds, vertical gardening, or container gardening on a balcony or patio.
- Observe Sunlight Patterns
- Spend a day watching where the sunlight hits your yard. You need at least 6–8 hours of direct sunlight for most vegetables. If you’re working with a smaller space, consider vertical gardening options like trellises to maximize sunlight exposure.
- Planning Tools: If you need help with garden planning and mapping, come back later and check out Garden Planning Tools or Garden Layout Design Templates that we are working hard to make available in our print-on-demand store. These tools will help you visualize the best spots for planting based on sunlight.
- Ensure Proper Drainage
- Watch how water flows after a rainfall. Poor drainage can suffocate plant roots. If your soil holds water too long, consider building raised garden beds. They provide better drainage and allow you to control the soil quality.
- You can easily build a homemade raised garden bed or purchase a Raised Bed Kits and add some Garden Bed Soil Mixes. These products are perfect for improving your soil quality and drainage, especially in compact spaces.
- Easy Access to Water
- Having water near your garden makes it easier to keep things hydrated. Install a Rainwater Collection System or use a Drip Irrigation Kit for targeted watering.
Tip from experience: Years ago, I built a raised garden bed in an area of my yard that I thought provided enough sun. It wasn’t until after I built it, that I realized it was mostly in the shade. Yes, it was sunny in that spot when I first stood and looked at it, but if I had only stayed and observed the actual path of the sunlight, I could have saved myself a lot of heartache when harvest time came. Our plants grew tall and leafy but never produced fruit! Lesson learned: sunlight is key.
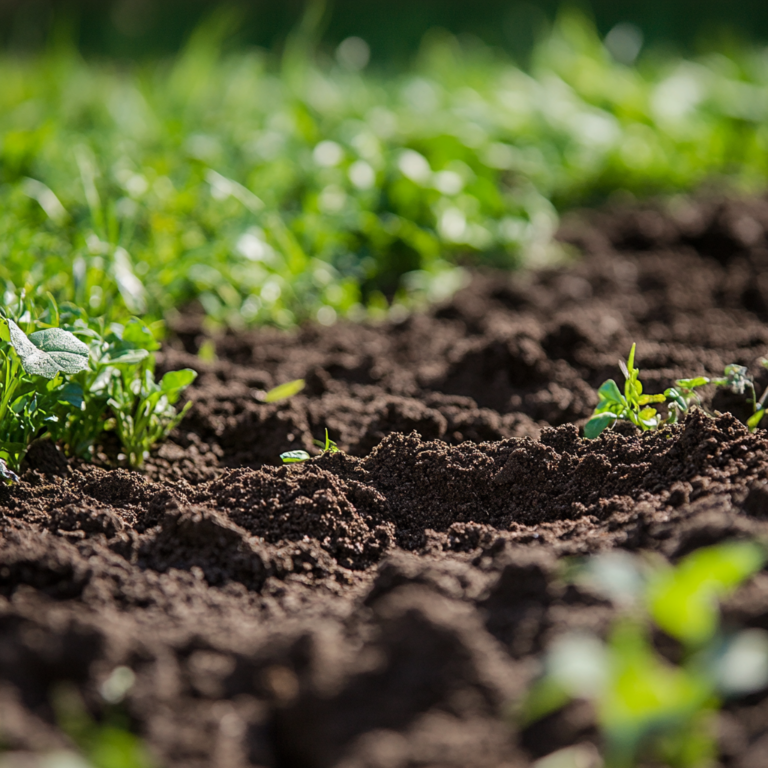
2. How to Prepare Your Garden Bed
Healthy soil is the backbone of a sustainable garden. Test your soil first and adjust the levels as needed. Avoid synthetic fertilizers. Focus on building rich, organic soil by following the steps below:
- Test Your Soil
- Soil quality is the first thing you need to address. Soil test kits are an easy way to get started. Check for pH, nitrogen, phosphorus, and potassium levels.
- You can use soil testing kits like the Luster Leaf Soil Test Kit and MySoil Test Kit. Soil kits are an essential tool for all homestead gardeners, and you need to know your soil type before you begin planting.
- Clear the Area of Weeds and Grass
- Use a shovel or hoe to clear your planting area. Take extra care in removing deep-rooted weeds. For indoor gardens and containers, this step may not be necessary.
- Helpful Link: If you’re struggling with weeds, try some Weed Control Tools, which can help you remove unwanted plants before you start planting your veggies.
- Loosen the Soil
- You need to break up the soil to create air space for roots to grow. Use a garden fork or rototiller for loosening compacted soil. A high-quality Rototiller can make this process easier and less time-consuming. When I first purchased my rototiller, I thought to myself, “What in the world would I ever need this for?”. I have used that thing more times than I ever thought possible. I’ve used it in my garden, in my front yard to plant grass seed, and even to dig a long trench to run electrical wiring from the house out to the pool! Obviously you wouldn’t use a roto tiller in a raised garden or in container pots. In that case you would use something smaller, like a Garden Trowel or hand fork.
- Add Organic Matter
- Compost (kitchen scraps, leaves, grass clippings)
- Cover crops (like clover or rye) to prevent erosion and add nutrients
- Mulching with straw, wood chips, or grass to retain moisture and suppress weeds
- Manure (chicken, cow, horse, goat, sheep) for a natural soil fertilizer
- Miscellaneous Soil Supplements: I have used coffee grounds and finely crushed eggshells as fertilizer. Fish heads and guts are also one of the best fertilizers, if you have access to them.
Personal experience: Be careful when composting. If not done correctly, you may end up contaminating your soil with pathogens and fungus that may end up damaging your plants. Adding worms to your compost is another benefit. They help break down, loosen, and enrich the compost into fertile soil.
3. How to Choose the Right Plants to Grow for Your Climate and Space
Every region has different growing conditions. Research your local hardiness zone to find plants best suited for your area. Also, select crops that match your space and needs.
- Easy Crops for Beginners
- Start with vegetables like leafy greens (lettuce, kale), root vegetables (radishes, carrots), and beans. These are quick-growing and relatively maintenance-free.
- Small space? Grow vertical crops like peas, beans, and cucumbers.
- Harsh climate? Hardy vegetables like kale, carrots, and radishes thrive in cooler temperatures.
- Limited water? Try drought-tolerant plants like tomatoes, peppers, and certain herbs.
- Check Your Growing Zone
- Know your USDA hardiness zone. This tells you which plants are best suited to your climate. For example, if you live in colder regions, crops like spinach, peas, and lettuce are ideal.
- Helpful Tools: If you don’t know what zone you are in, here is a link to the USDA Plant Hardiness Zone Map .
4. Planting Your Vegetables
How to Plant Seeds and Seedlings
- Seed Planting
- Plant seeds according to the instructions on the seed packet. Different seeds require different depths. A good rule of thumb: plant small seeds shallow and large seeds deeper.
- Affiliate Suggestion: You may want to consider a Seed Starting Kit or Herb Starter Kit that comes with seeds, trays, soil, and markers—everything you need to get started.
- Transplanting Seedlings
- If you started seedlings indoors, harden them off by placing them outside for a few hours each day before transplanting them into the garden.
- Seedling Pots or Seedling Trays can be useful for beginners starting plants indoors.
- Mulching
- Mulch helps conserve moisture, suppress weeds, and maintain an even soil temperature. Apply 2–3 inches around your plants.
- Organic Mulch or Straw Bale for mulching will benefit your garden by thwarting weeds, holding in moisture and protecting the roots.
- Some of you hardcore Homesteaders may decide you want to Make your own Mulch.
5. Protect Your Plants with Companion Planting
Planting crops that benefit each other is called Companion Planting. When used properly, this method can boost yields, deter pests, and improve soil health. Here are some classic combinations:
- Tomatoes & Basil: Basil repels pests and enhances tomato flavor.
- Carrots & Onions: Onions deter carrot flies.
- Beans & Corn: Beans fix nitrogen levels in the soil, feeding the corn.
A Companion Planting Chart may help in setting up your garden effectively.
What I’ve learned: Sometimes when you have taller plants in your garden, you can add smaller plants (like lettuce) in between. Lettuce grows better in cooler climates, the leaves tend to wilt quickly in the heat. The taller plants will help shield them from the scorching sun.
6. Use Natural Pest Control
Avoid chemical pesticides by using organic pest control methods:
- Attract beneficial insects like ladybugs and lacewings by planting flowers.
- Use row covers to protect plants from insects.
- Try homemade sprays (like neem oil or garlic spray) to repel pests.
- Plant flowers and herbs that repel (lavender, chrysanthemums, petunias, basil, sage, garlic, chives, rosemary and marigolds; A combination of chrysanthemums and marigolds are probably the best for keeping insects, deer and rabbits out of your garden).
Personal tip: I had an aphid infestation on my tomato plants. Instead of spraying chemicals, I sprayed a garlic spray, and within a week, the aphids were gone.
7. Water Wisely for Sustainability
Watering wisely and consistently conserves resources and helps your plants thrive. Here’s what works best:
- Deep watering encourages strong roots (water less often but more thoroughly). Water early in the morning to avoid evaporation. Use a watering can with a gentle spout or a Soaker Hose to target the base of your plants.
- Drip irrigation saves water and delivers moisture right to the roots.
- Rainwater collection is a great way to use free, natural water. There are numerous Watering Systems and Rain Barrels available for efficient, eco-friendly watering options.
Lesson: Overwatering is just as bad as underwatering! Most people don’t realize they are drowning their plants. Plant roots need to breathe. Without proper drainage, the roots will rot. This is especially crucial when growing in containers and pots. There should always be holes in the bottom of the pot to allow the excess water to drain out. Constant moisture will cause algae and other fungus and mold issues. Deep watering a couple times a week gives better results for vegetables and fruits planted directly in the ground. However, planter pots will dry out much faster than the ground soil and will likely need more frequent watering during the summer season.
8. Harvesting Your Vegetables
When and How to Harvest
- Harvesting Leafy Greens
- Pick outer leaves first when they’re 4–6 inches tall to allow the plant to keep producing.
- Harvesting Tools like pruners and scissors should be used for clean cuts.
- Harvesting Root Vegetables
- Gently pull up roots like carrots and radishes by loosening the soil around them. Be careful not to damage the roots.
- A Garden Tool Set is a good ideal for beginners looking for a complete toolkit.
9. Extending Your Growing Season
If you want fresh vegetables year-round, use season-extending techniques:
- Cold frames or row covers protect plants from frost.
- Greenhouses or hoop houses create a warmer microclimate.
- Succession planting (planting new crops every few weeks) ensures a continuous harvest.
- If you are interested in extending your garden’s growing season, you can purchase a DIY Cold Frame Kit or download Cold Frame Building Plans.
Personal experience: I personally use a homemade hoop house in early spring and late fall, allowing me to harvest lettuce well into November. I never made DIY plans for my hoop house, but if enough people are interested, I will create a blog on how it was constructed.
10. Save Seeds for Next Year
Seed saving is one of the most rewarding parts of sustainable gardening. It allows you to keep growing the best varieties without relying on store-bought seeds.
- Choose heirloom or open-pollinated varieties (not hybrids).
- Let a few plants go to seed (like lettuce, beans, and peppers).
- Store seeds in a cool, dry place for next season.
What I’ve discovered: The first time I saved seeds, I didn’t dry them properly, and they molded. Now I air-dry them on a paper towel before storing them in glass jars.
Final Thoughts: Build Your Sustainable Garden Today!
No matter where you live, you can create a sustainable vegetable garden that provides fresh, homegrown food year after year. With the right planning, soil care, and natural techniques, you’ll not only grow your own food but also support a healthier, more self-sufficient lifestyle.
Start small, experiment, and enjoy the process! Gardening is all about learning from experience, adapting, and appreciating the rewards of homegrown food.
We’re Just Getting Started
As you look around, you’ll notice our site is still under construction. We’re working hard to bring you a wealth of valuable information and resources. New articles, guides, and tips are being added regularly—so bookmark our page and come back soon!
Before you leave, be sure to check out our Shop! Support our work by browsing our exclusive Quiet Meadows products, as well as carefully selected affiliate recommendations that we know you’ll love. Every purchase helps us grow and continue to provide valuable resources for your homesteading journey