We may earn a small commission when you purchase through our affiliate links. This helps fund Quiet Meadows Homesteading and our mission to promote self-reliance. We appreciate your support!
Survival Skills 101: Master the Basics to Stay Safe
Have you ever wondered how you would manage if things really went wrong? I know I have, and it can feel a bit scary. However, learning a few basic survival skills can give you confidence and help you stay safe in any emergency. In this post, I’ll share the basic skills you need, explain them in simple terms, and tell you about some of my own experiences. So grab a cup of coffee, sit back, and let’s talk about how to be prepared!
What Are Survival Skills and Why Do They Matter?
First, survival skills are the basic abilities that help you take care of yourself during emergencies. They are not only for wilderness adventures or extreme situations. In fact, knowing how to start a fire, find water, or build a shelter can help you in many different situations. When I first learned these skills, I felt much more confident. Even if you never face a disaster, it’s always good to know that these skills will make you more self-reliant.
Moreover, being prepared means you don’t have to panic when things go wrong. Instead, you can take small steps that keep you and your family safe. For example, if you know how to purify water, you won’t have to worry if your water supply gets cut off. And if you know how to build a simple shelter, you can keep warm during a cold night outdoors. In short, every little skill you learn makes a big difference.
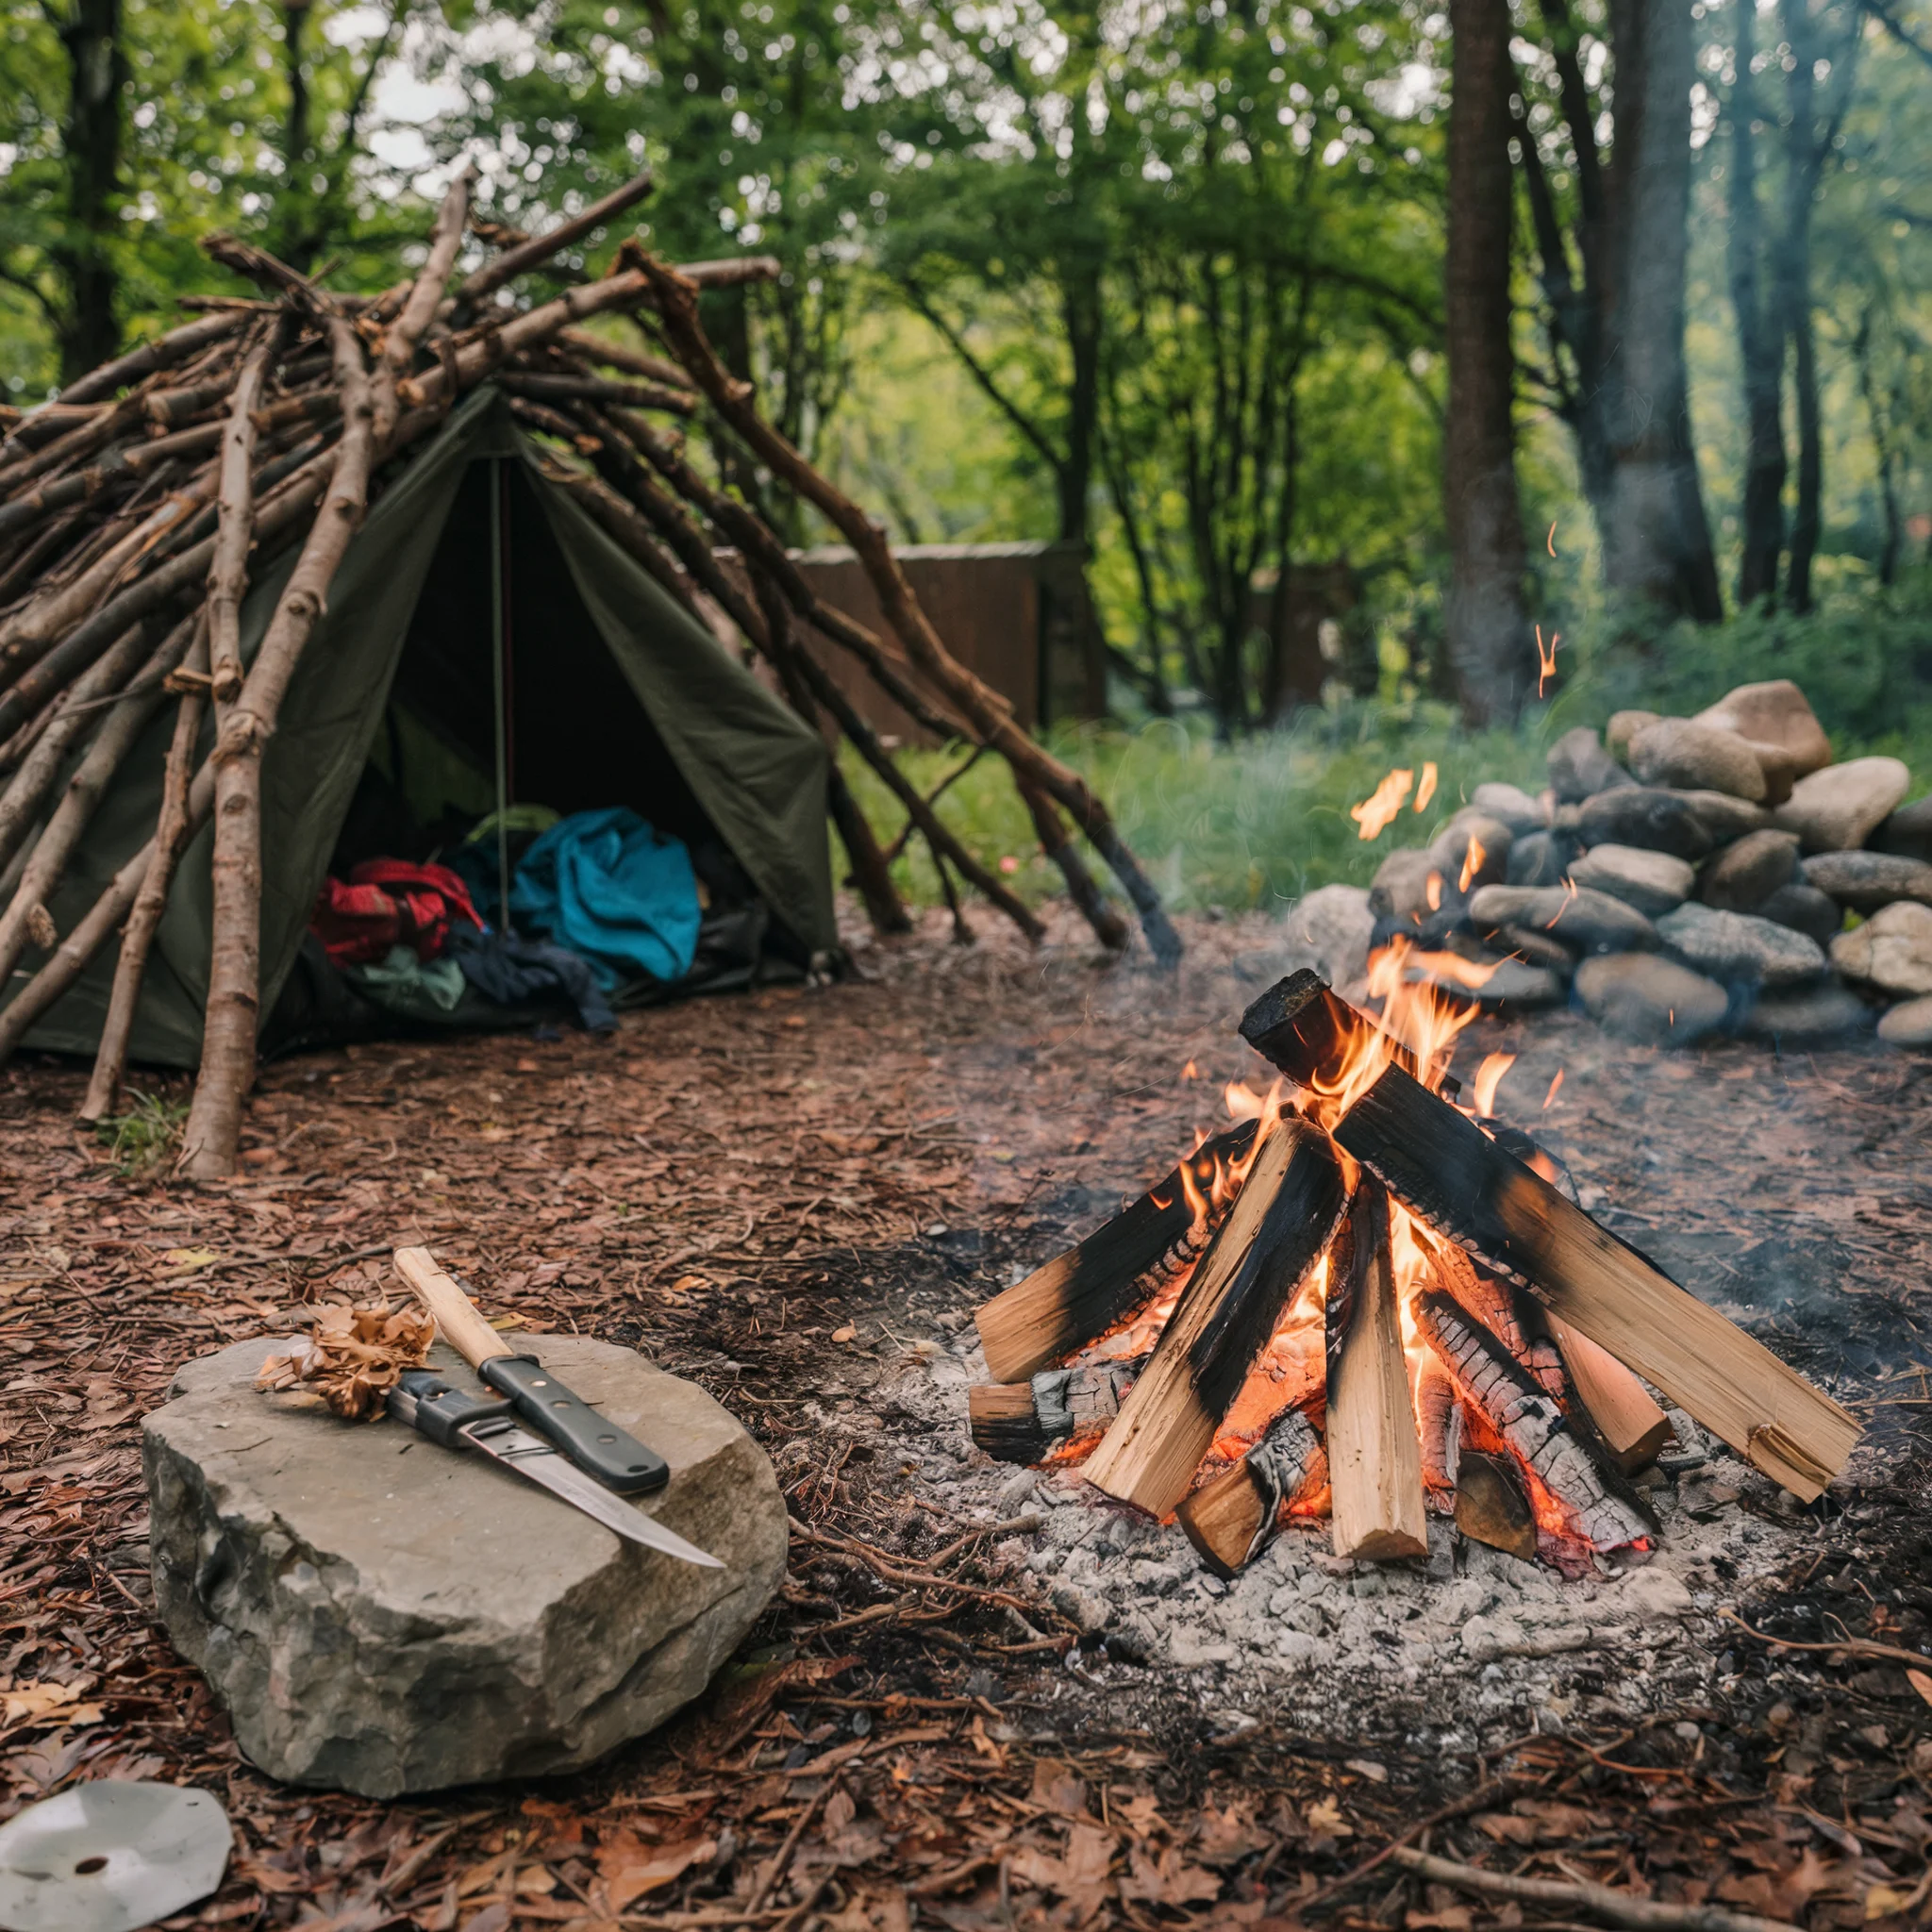
Building a Simple Shelter
Let’s start with shelter. When you are out in the wild or even during a sudden storm at home, having a safe place to go that is protected from the elements is very important.
- What to Do:
Imagine you’re caught in a rainstorm. Instead of running around in panic, you can quickly build a simple lean-to using a tarp or branches. - How I Learned:
I once built a shelter behind my parents house. The type of shelter I built was called a Wikiup. Even without anyone maintaining it, that shelter lasted over 10 years. I learned that its not that difficult to build a simple shelter. There are other factors to take into consideration as well, such as, finding a flat spot near a natural windbreak. It also helps to build in a spot that isn’t going to flood when it rains. - Step-by-Step:
First, find a flat area. Next, gather materials like branches or a tarp. Then, arrange them in a simple structure that shields you from the rain. Finally, secure everything with rope or stakes. The shelter I built had no ropes or stakes. It was more like a teepee and was sturdy on its own. I’ll go into more detail about building this shelter in my Wikiup post. - Remember:
Always check your shelter for safety. In addition, practice makes perfect!
Finding and Purifying Water
Water is life, and you need it to survive. It is not enough to simply find water—you must also make sure it is safe to drink.
- Locate Water:
Look for streams, rivers, or even collect rainwater. I learned this skill as a kid during a hike in the Appalachian Mountains. We had to rely on nature for water. There was natural spring water seeping out of the ground. We were able to dig it out deeper and after waiting for the sediments to settle, we were able to enjoy cold refreshing mountain water. - Purify Water:
You can purify water by boiling it for at least one minute, using a portable water filter, or adding purification tablets. Another trip to the mountains resulted in having to drink water from a stream. Since the water was not directly from a spring, it had to be purified. I used tablets to purify the water. Although it was fine to drink, it left a bit of a metallic taste in my mouth. I would prefer boiling the water over using tablets if possible. - Why It Matters:
Without clean water, you risk getting sick. Dehydration is also a concern. Therefore, always have a backup plan. For instance, keep a small water filter in your backpack.
Starting a Fire
Fire is more than just warmth; it helps you cook food and can even signal for help. It’s also fascinating and comforting to watch the flickering flames of a cozy fire.
- Basic Fire-Making:
When I first tried starting a fire without matches, I used a metal match. It wasn’t easy at first, but with practice, I learned to start a fire in a matter of minutes. Another tool I used was a fold-a-way magnifying glass. Not everyone thinks to bring a magnifying glass, but, if you wear glasses- that can work as well (though you may need to word harder at getting the best angle of the sun’s rays). - Steps to Build a Fire:
First, gather dry wood, kindling, and tinder. Avoid wet or green wood since it burns poorly and creates heavy smoke. Use tinder—dry leaves, shredded paper, or small twigs—anything that ignites quickly. Next, arrange your kindling (slightly larger sticks) into a small teepee shape to build the fire’s structure. Then, use a match or lighter to ignite the tinder. Once the kindling catches, gradually add dry logs to fuel the fire. - Keep It Safe:
Always clear the area around your fire and never leave it unattended. There should be a clear 10 feet radius from the fire and no overhanging tree branches. - Tip:
Consider buying a waterproof fire starter. You can find good deals on these online if you search for “survival fire starter” (affiliate links may be available when I update my site).
Sourcing Food in a Crisis
Food is essential, and knowing how to find it in a survival situation can be a lifesaver.
- Foraging:
Learn which wild plants are safe to eat. As a young teen, I remember reading a field guide and then heading out to the meadow trying to identify all the plants and trees in our area. - Fishing and Trapping:
Even basic fishing skills or simple traps for small game can make a difference. It may sound daunting, but start with a simple rod or net. - Practice Makes Perfect:
Every time you try, you learn a little more about what works and what doesn’t. - Remember:
Always verify that the food is safe to eat, and when in doubt, don’t take the risk.
Basic Navigation
Getting lost can turn a small problem into a major crisis. Navigation skills help you find your way, even when technology fails.
- Using a Compass:
Winning first place in a statewide compass navigation competition as a teenager remains a vivid memory. For me, relying on old-school compass skills and a trusty map, was both educational and exciting. Many of my competitors appeared less eager to master the art of using a compass. Did you know that you can tell directions by using a watch? That’s a topic for another day! - Observing Landmarks:
Natural landmarks like mountains, rivers, or even the position of the sun can guide you. - Practice:
Try navigating in your local area without relying on your smartphone. Over time, this builds your confidence and skill.
Basic First Aid
First aid is a must-have skill that can prevent a minor injury from becoming a serious issue.
- Essential Items:
Keep a basic first aid kit with bandages, antiseptics, pain relievers, and personal medications. - Learn Key Techniques:
Take a CPR or first aid course. Better yet, take both! - Regular Updates:
Replace expired items and review first aid steps regularly. - Practice:
As a young teenager, regular practice of my first aid skills earned me third place in a statewide competition for my age group. Start simple and gradually build your experience and knowledge.
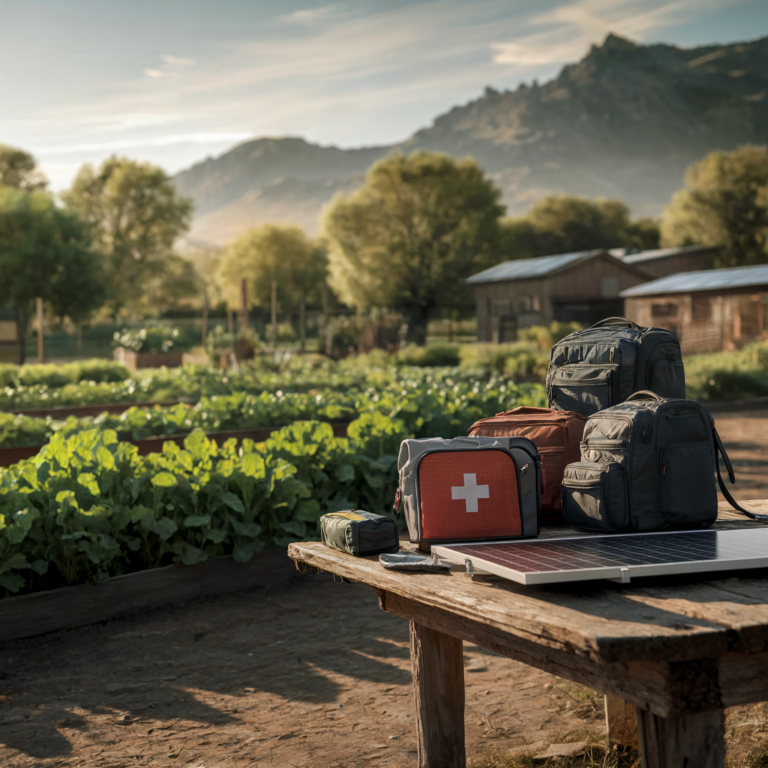
Customizing Your Bug-Out Bag/Backpack
While a bug-out-bag isn’t actually a skill, it doesn’t hurt to have one ready. This portable survival kit should be customized to meet your specific needs and be adaptable to various situations. However, it’s important to recognize that a bug-out bag is a convenience, not a guarantee. Emergencies often arise without warning, underscoring the importance of acquiring survival skills. Being equipped with knowledge and abilities ensures you’re prepared to handle unforeseen circumstances, even when resources are limited.
- Urban Emergency:
Use a compact backpack with essentials like water, food, a phone charger, and basic first aid supplies. - Rural or Off-Grid Situation:
You might need a larger bag with extra water, food, and more robust survival gear like a small tent or extra clothing. - Vehicle-Based Evacuation:
If you plan to evacuate by car, your bag can include extra gear and should be easily accessible. - Personal Touch:
Adjust your bag based on the season and location. Larger bags should include a knife, fire starters, first-aid kit, hand sanitizer, flashlight, a tarp or tent, blanket/sleeping bag, food and water. And let’s not forget the almighty roll of toilet paper (remember how valuable it became when Covid hit?). Over time, you will learn which items are most useful and which ones can be left behind. The more skills you learn, the less you need to carry with you to survive.
Wrapping It Up
Prepping is a journey of learning and growth. Every skill you master, from building a shelter to starting a fire, adds to your readiness. Also, each small success builds your confidence and self-reliance. I have made plenty of mistakes along the way, and every one taught me something new. Keep in mind that these are only the very basics of survival skills. More in-depth posts will be coming soon!
If you found these survival tips useful, please subscribe for more practical advice on prepping and self-reliance. Also, let me know if you are interested in a Prepper Starter Checklist for extra tips on building your emergency kit and I will try to get that posted as well.
So, what survival skill will you work on first? Share your thoughts in the comments below!
Stay safe, be prepared, and remember—every small step leads to a stronger, more resilient future.
Related Resources: The U.S. government site, Ready.gov, offers information on emergency preparedness, covering topics like building shelter, water purification, and other survival basics.